How To Successfully Start A Mom Blog From Scratch
Congratulations on finally making the leap to start your very own blog! Grab your laptop and by the time we finish this post, you will have created your very own blog!
Check out this step-by-step tutorial to learn how to quickly and successfully start a mom blog of your very own!
*This post contains affiliate links.
Congratulations on finally making the leap to start your very own blog!
I must admit, I did SOOOO much research on the proper way to start a blog and I’ve also had my share of hiccups when it came to finally getting the courage to start this blog!
Lucky for you, I created the following step-by-step guide that you can follow along with.
So grab your laptops and by the time we finish this post, you will have created your very own blog!
Get Hosting And Secure Your Domain
First things first, ya gotta get your domain name and hosting.
My friends over at Bluehost have an AWESOME deal going on. You can get hosting for as little as 3.95/mo.
If you’re interested in this AMAZING deal, click here to get started.
Next, Select Your Plan
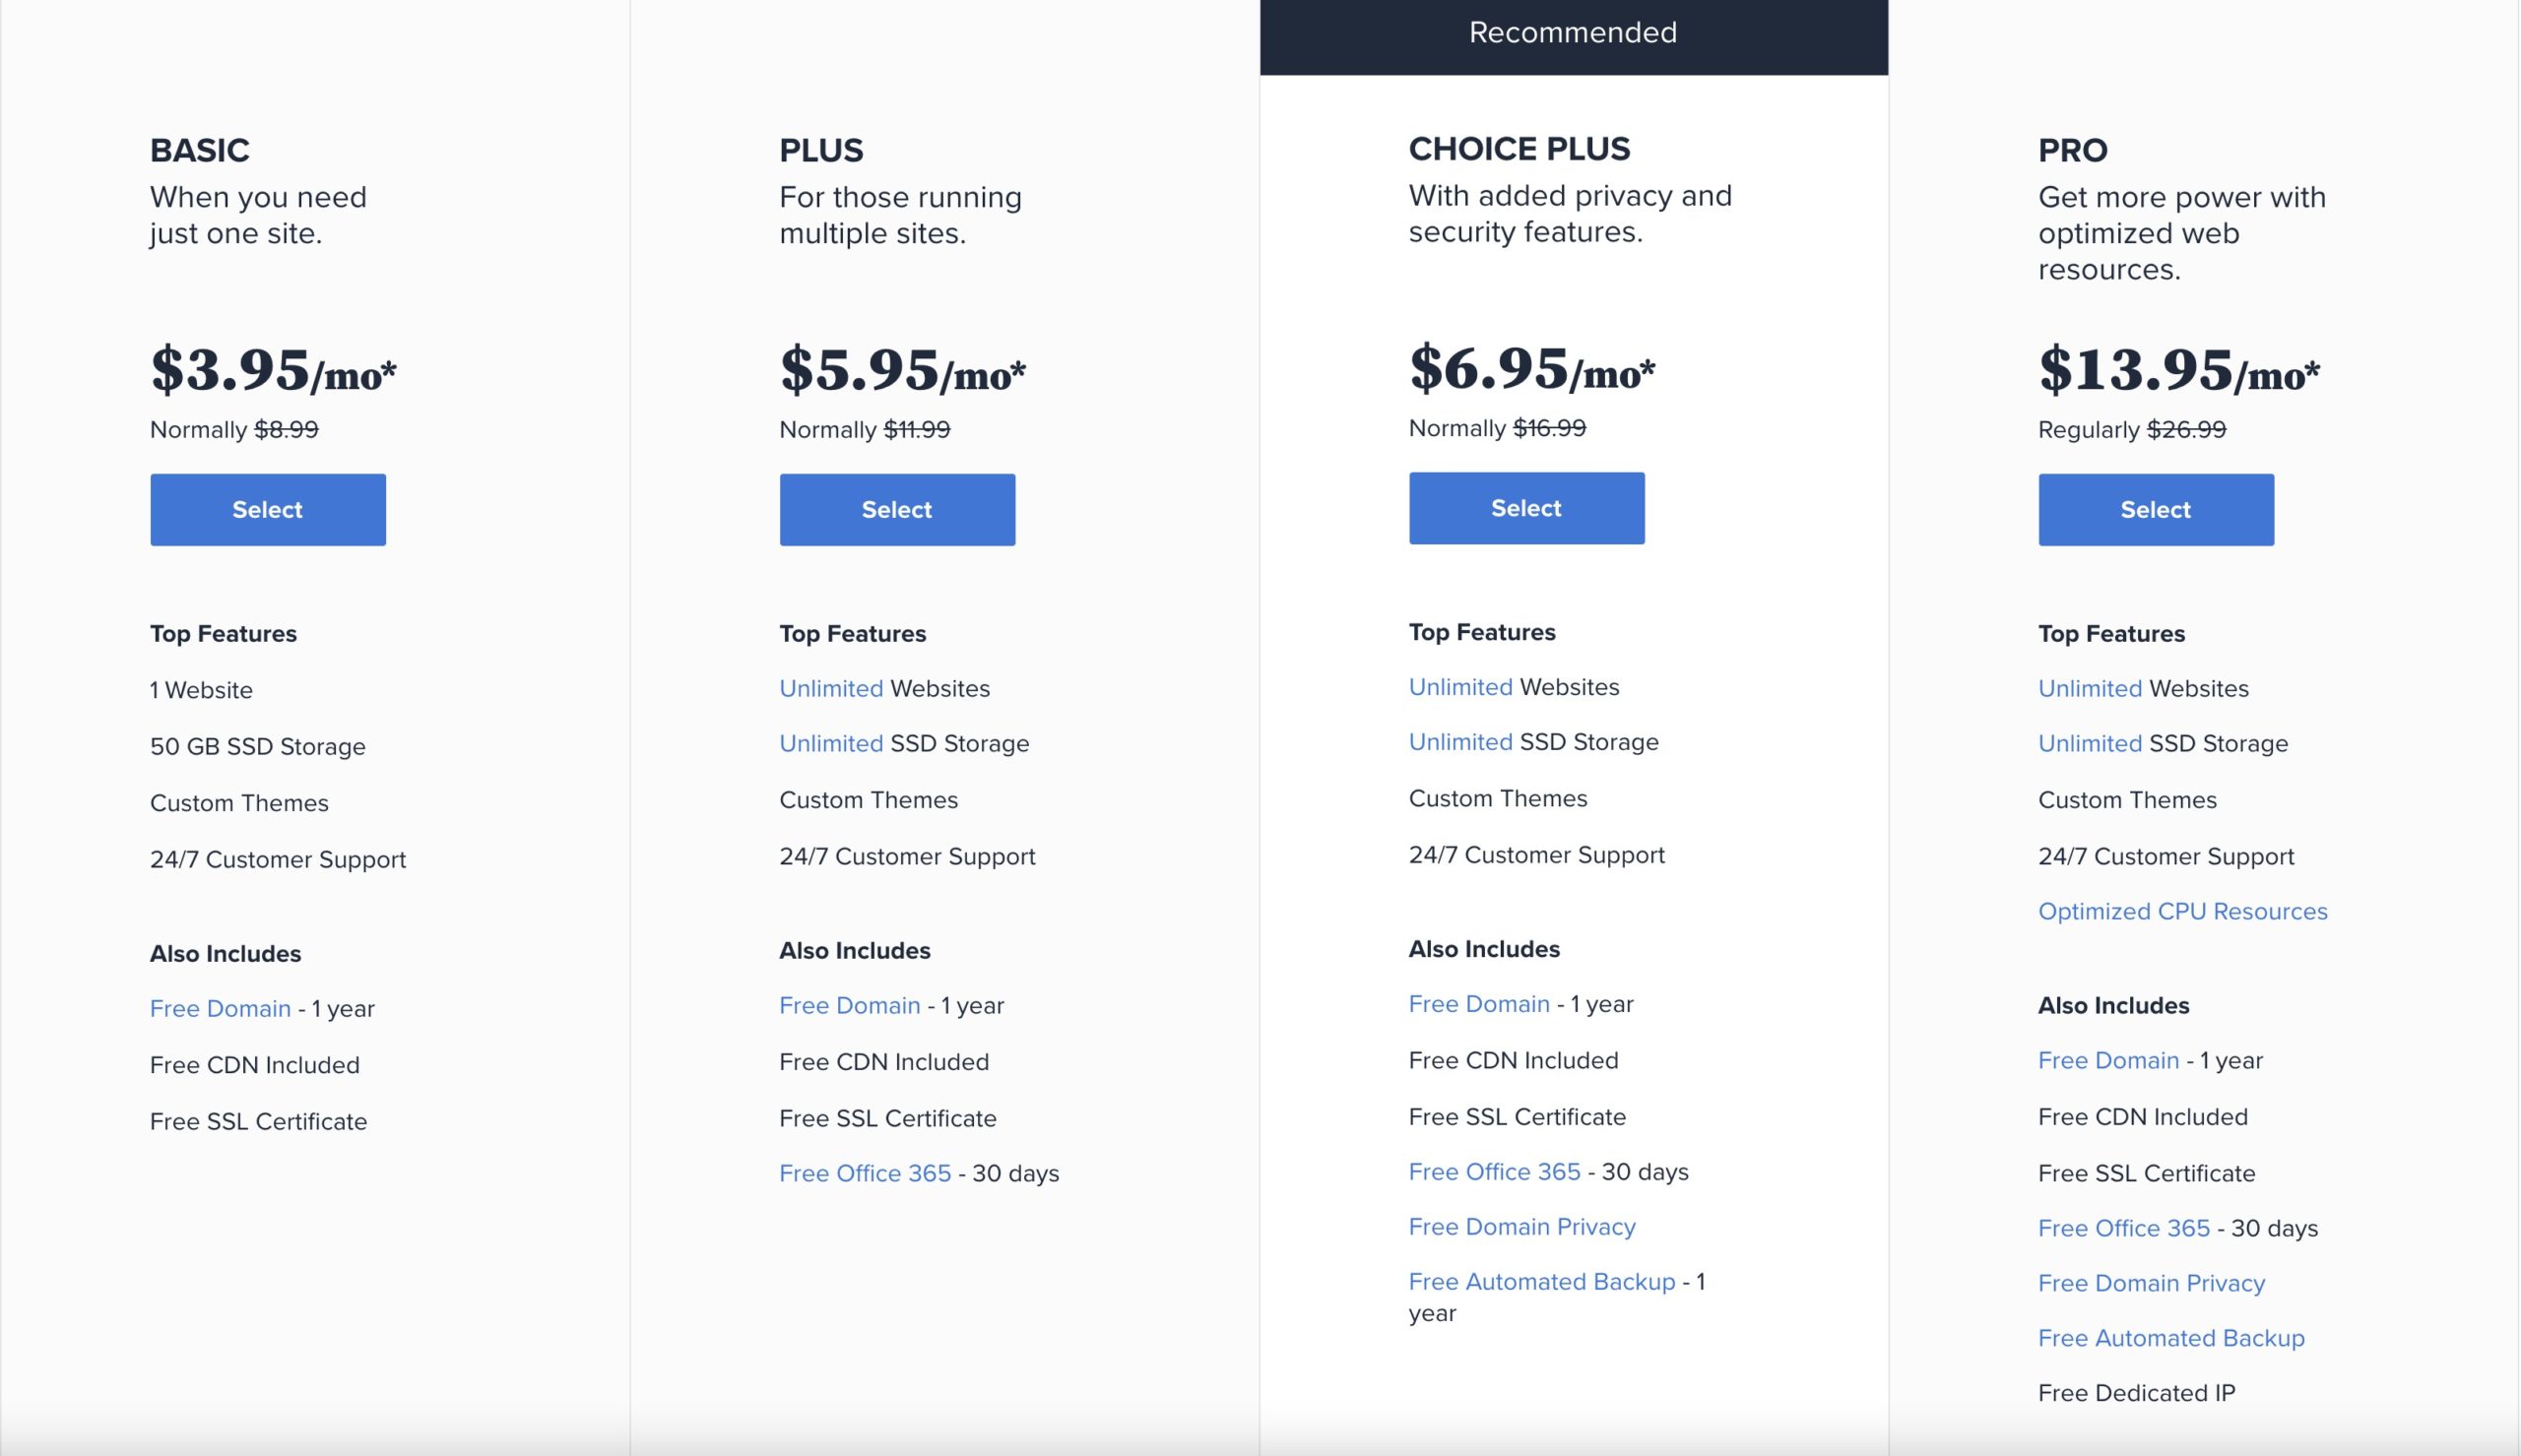
Bluehost offers a basic, plus, and prime plan. I personally signed up for the basic plan but I must admit that the choice plus plan is a STEAL!
Pick your domain name
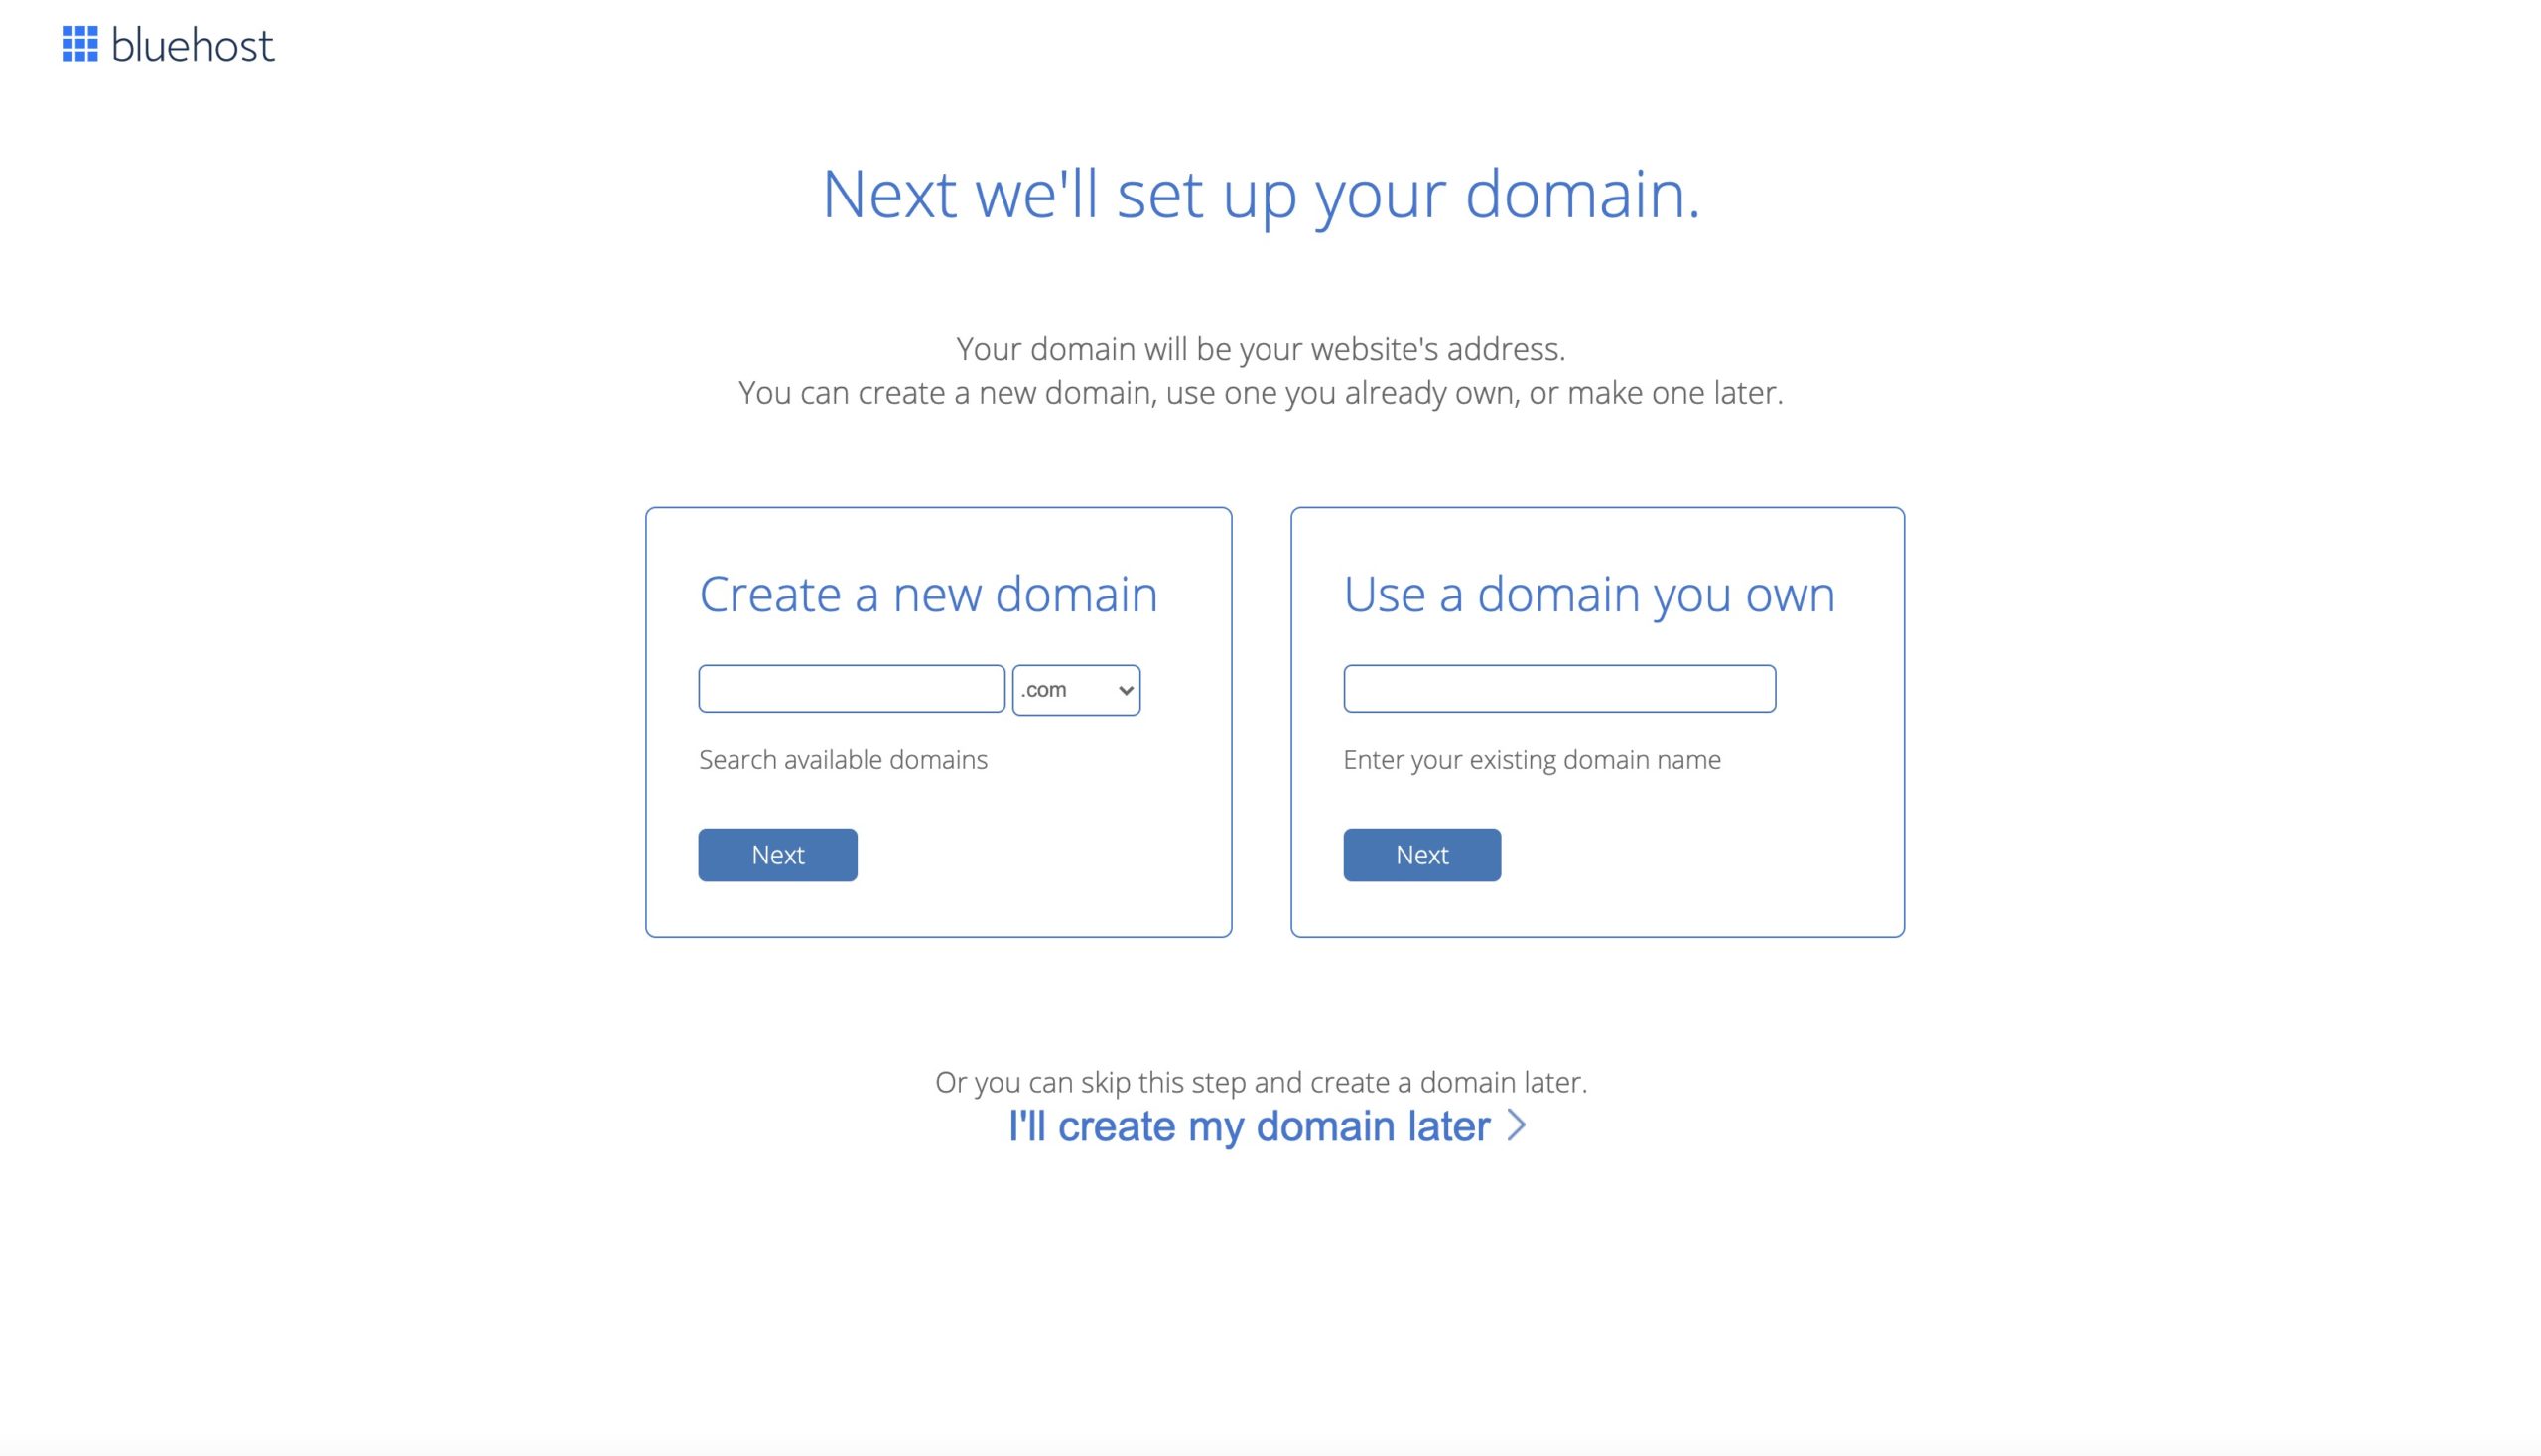
Did I mention that when you sign up for hosting with Bluehost that you get a FREE domain?
Well, it’s true! Click here to sign up for Bluehost hosting and get your FREE domain.
Already have a domain? Don’t worry, Bluehost will allow you to use an existing domain if you have one.
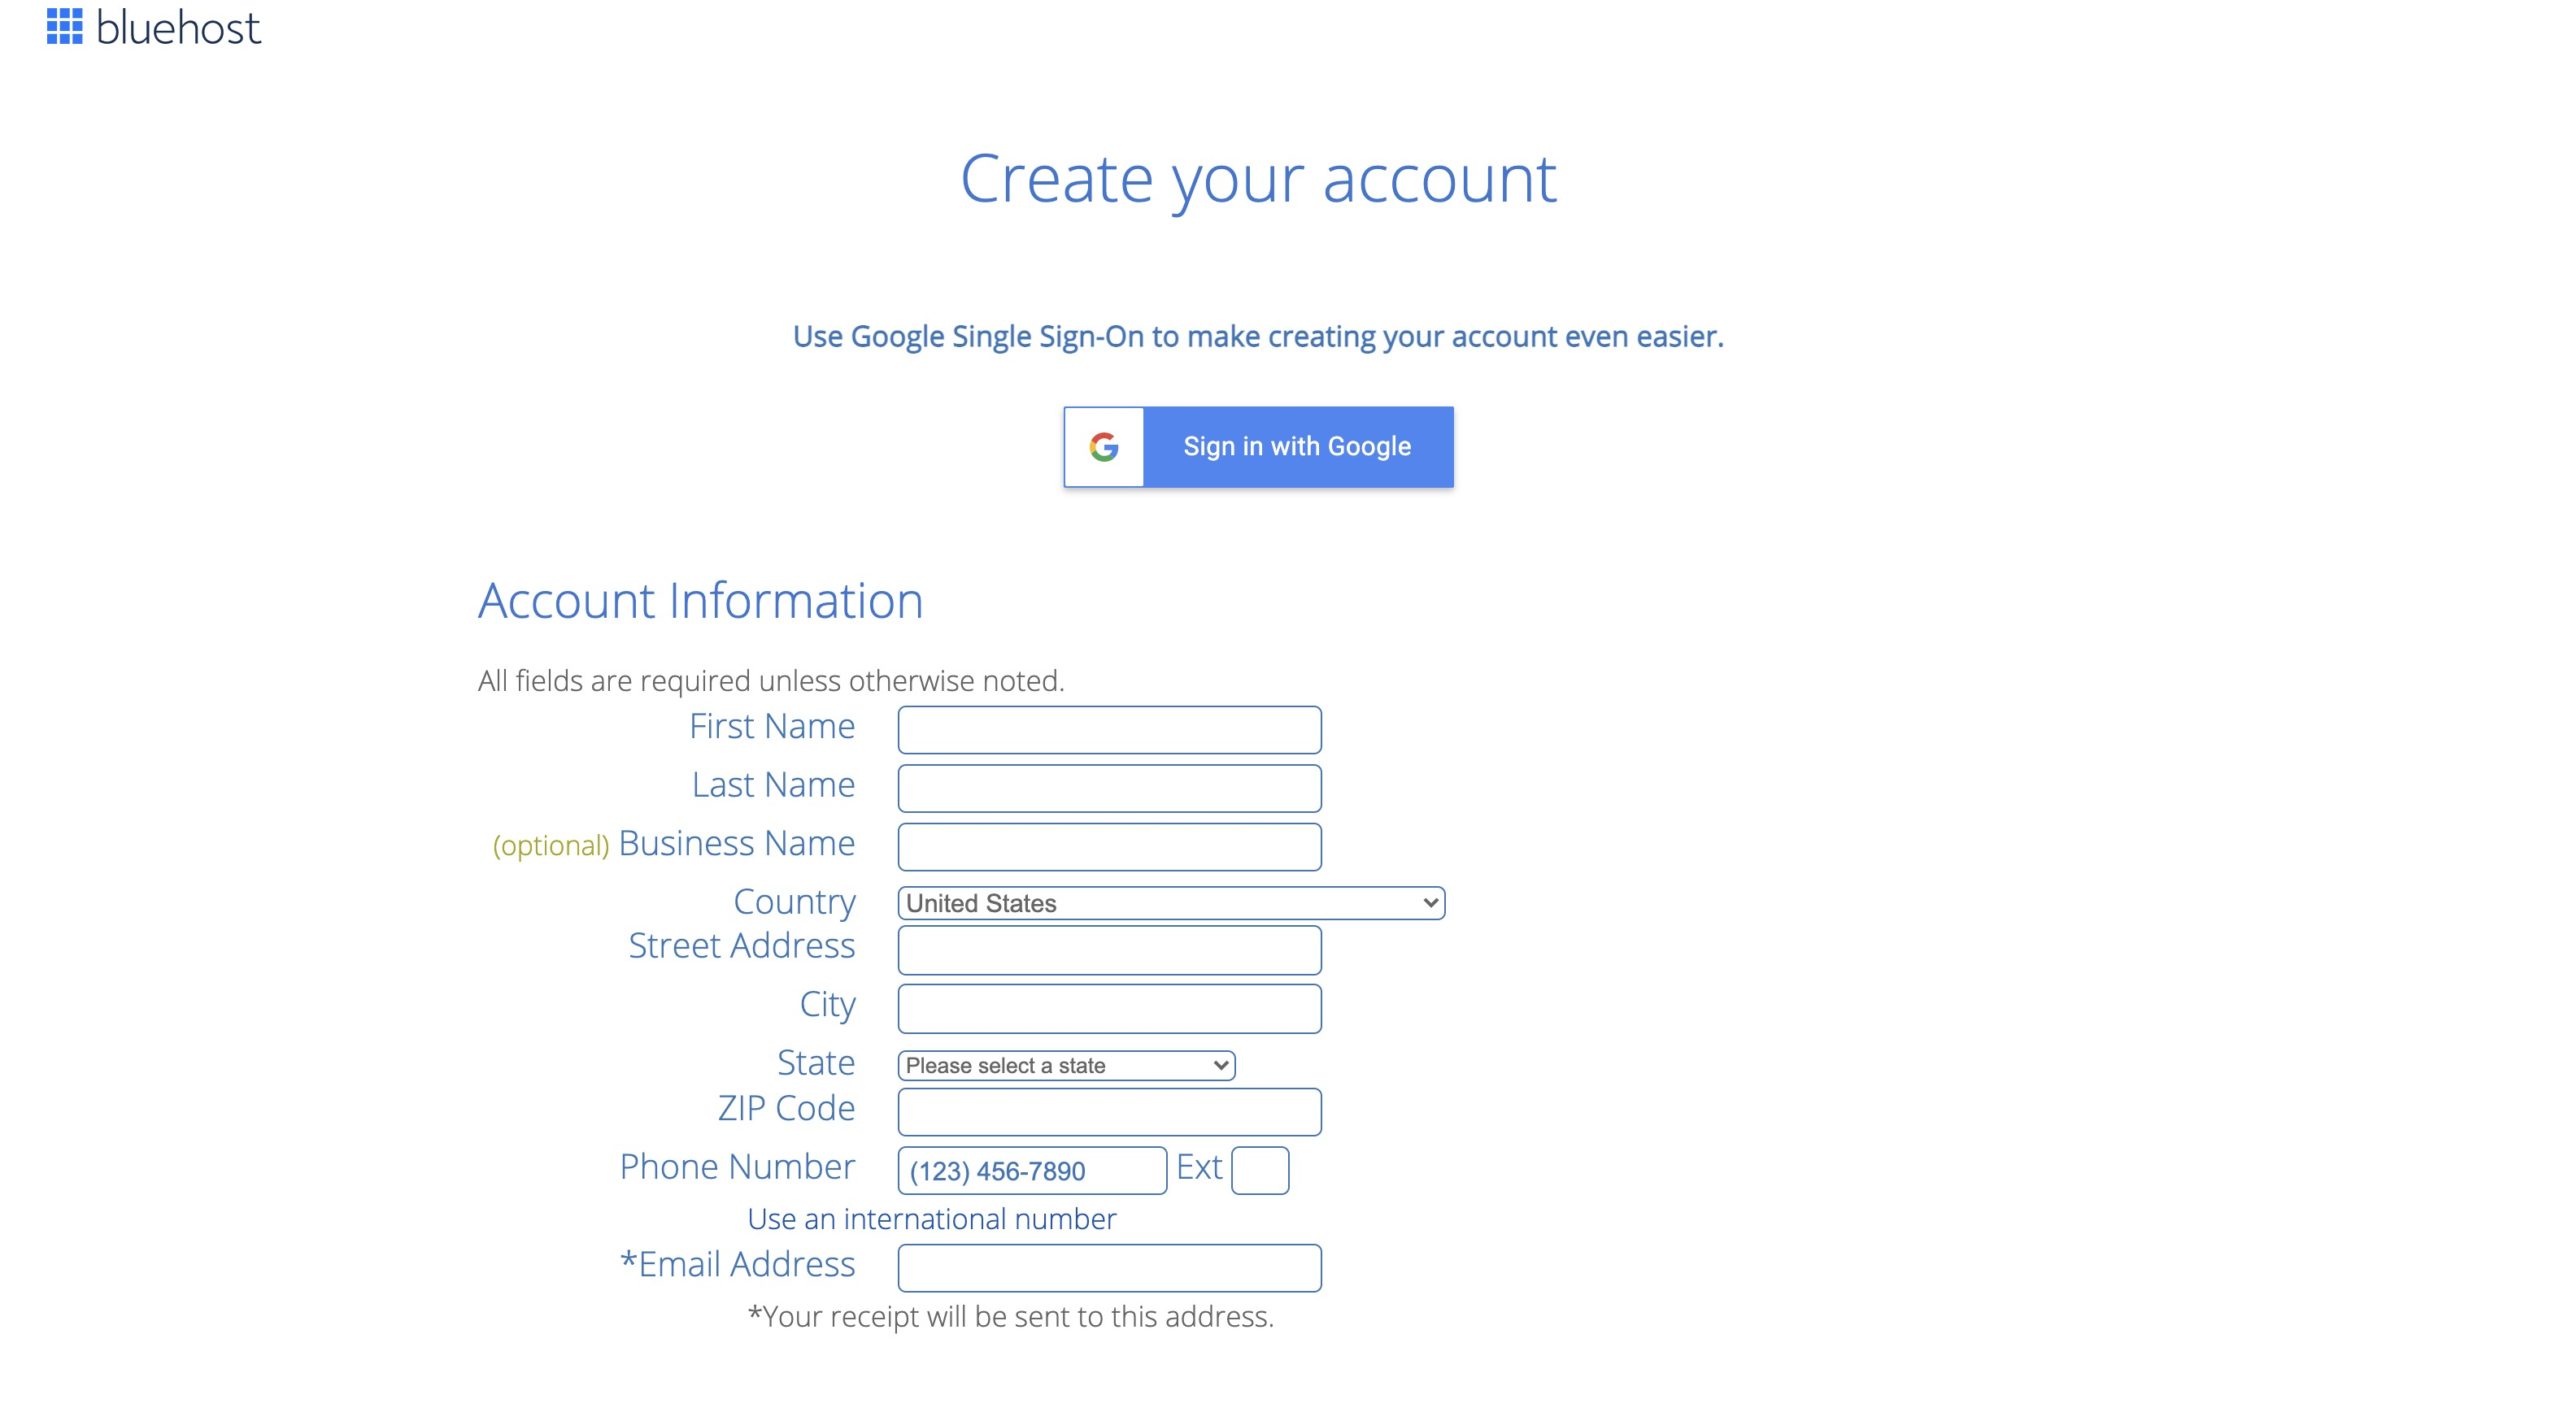
Create An Account
Select Your Plan
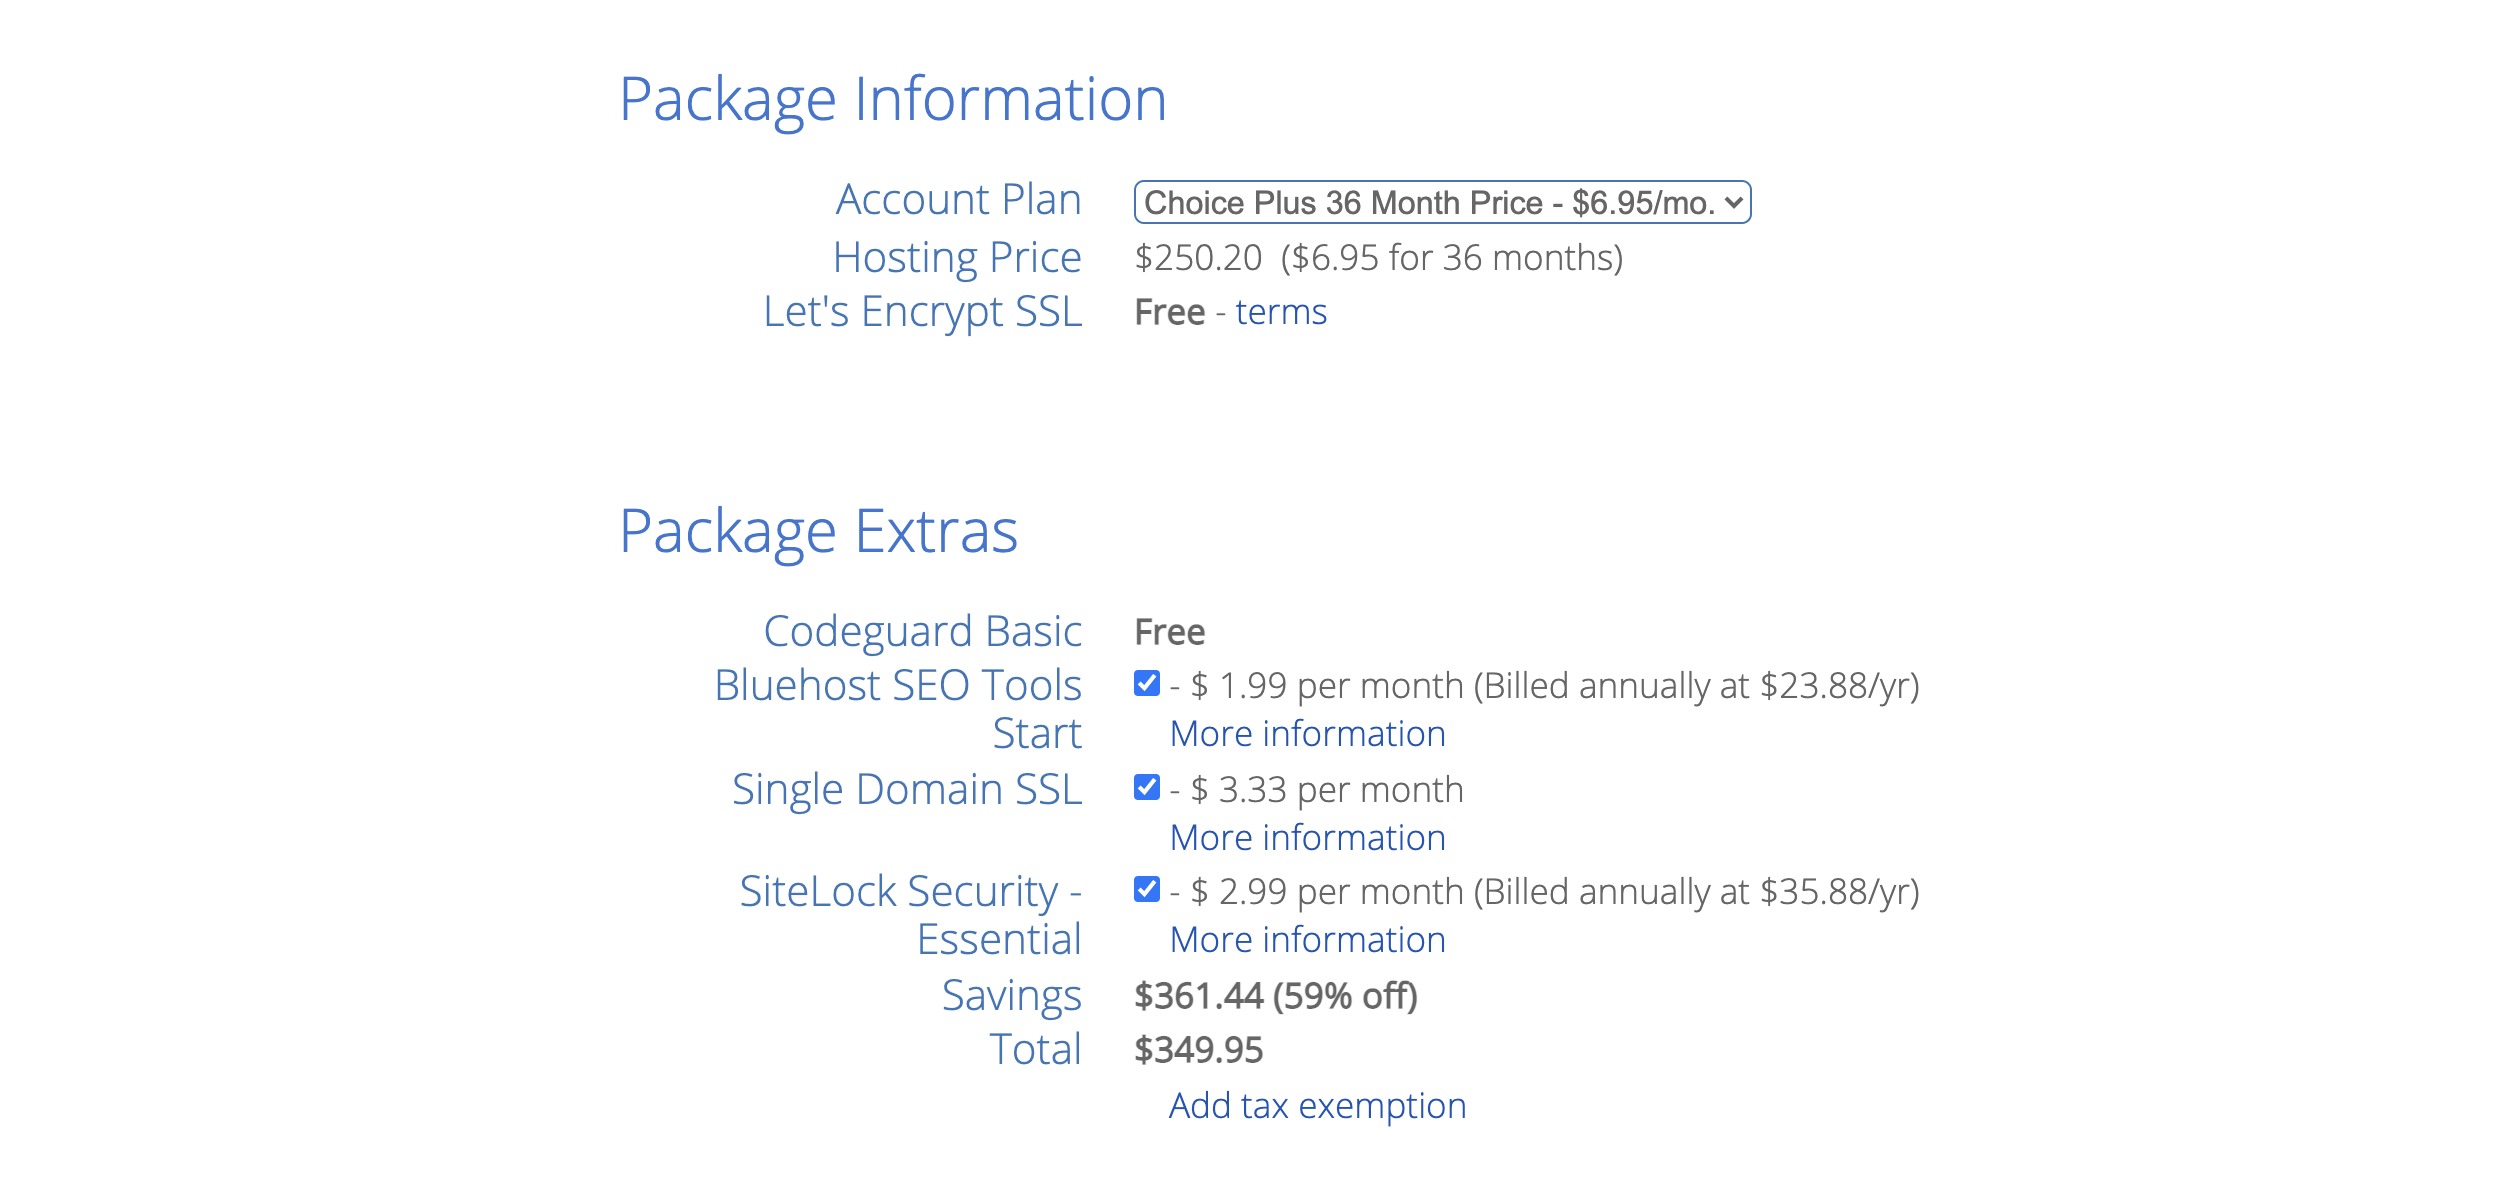
Bluehost offers packages ranging from 12 months to 60 months. They also offer some GREAT add-ons!
I highly recommend at least getting the Single Domain SSL and the Site Lock Security.
Yay!!! You now have hosting AND your own domain!
Next, you will be prompted to create a secure password for your account. Make sure you write your new password down!
Now, it’s time for the good stuff!
Download WordPress
First, you want to log in to your account. Next, you will be prompted to select your domain and then WordPress will automatically begin to download.
Once your installation is complete, you will be prompted to view your credentials.
Next, you will be taken to your WordPress dashboard where you can manage all of the ins and outs of your brand-new website!
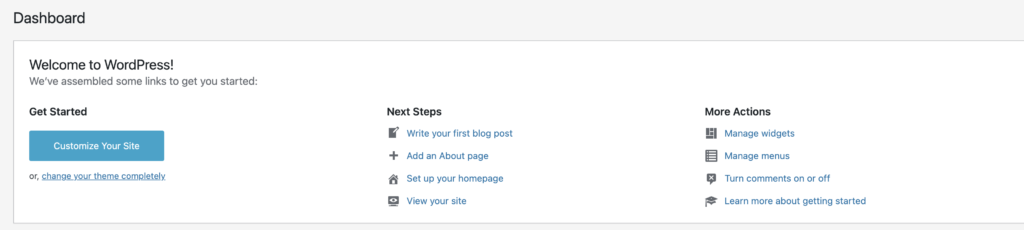
Viola! You now have a living, breathing piece of the internet!
DON’T FORGET TO GRAB YOUR FREE BLOG LAUNCH CHECKLIST
The Blog Launch Checklist is the ultimate guide to ensuring that your blog is truly ready for launch day!